Spindle reassembled
I've now got the spindle reassembled. I don't have photos for a lot of it, so you'll just have to rely on the vivid imagery my words portray. ;)
The spindle needed to be taken completely apart to be cleaned, and to have the clutch lining replaced. The clutch allows you to engage and disengage the spindle from the cone pulley, so you don't need to stop the motor if you want to change something, and it also makes it easier to start up the motor, because you can start it without it having to start everything spinning right away. The clutch mechanism was a bit tricky to take apart, it was designed so that you could only put it together in a certain sequence, and there was just barely enough room to gets the parts in.
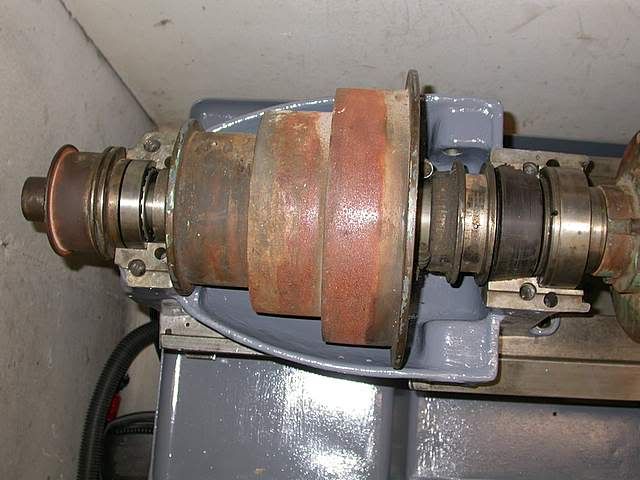
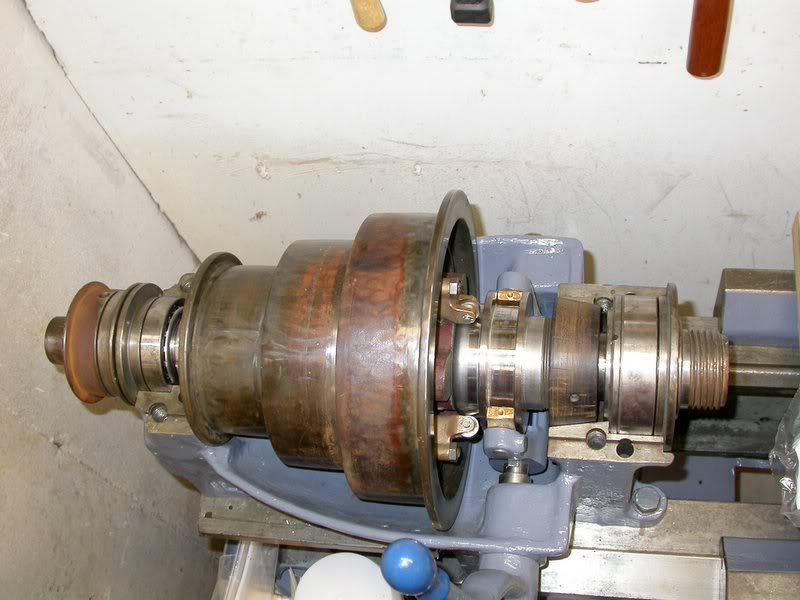
Here's a photo looking down onto the spindle before I took it apart.
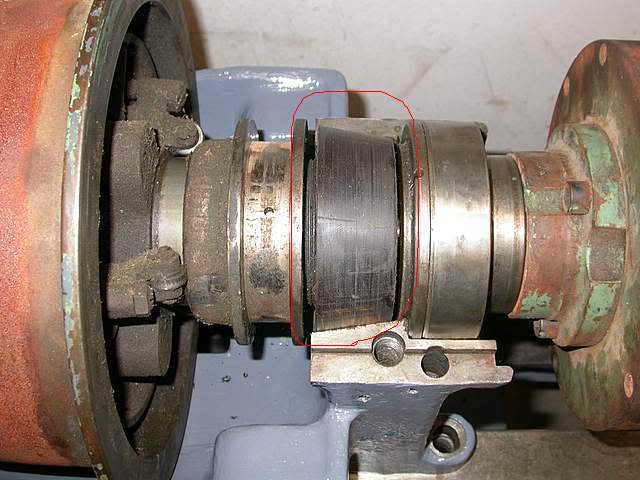
Here's a shot of the right side of the spindle, with the clutch mechanism on the left side of the photo (ignore the red oval).
After taking it all apart, I found that the inside of the cone pulley looked like this:
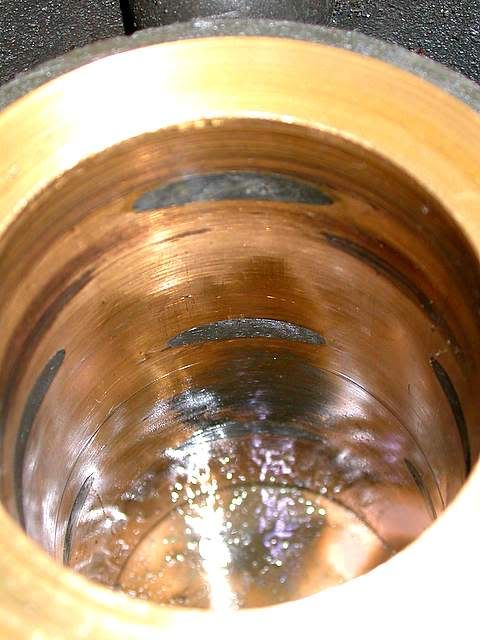
From the feedback that I've gotten from the Practical Machinist Forum, the black spots are graphite.
A not so good photo of the clutch disc:
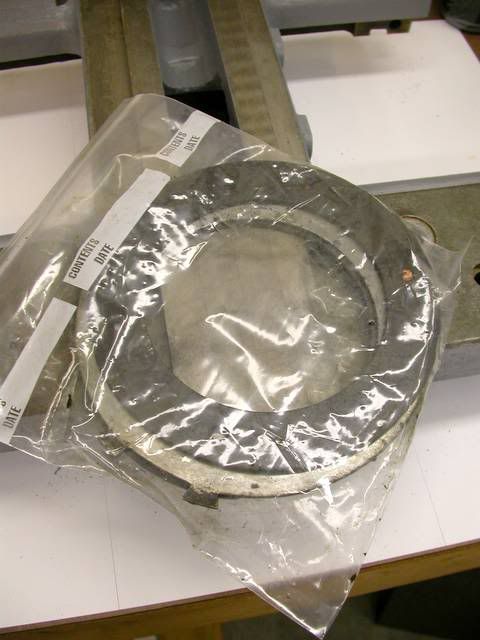
You can see the black clutch material, the metal disc that engages the cone pulley, and then another disc of clutch material behind it. The clutch material was originally rivetted to the metal disc. The clutch had worn down to where the rivets (they were copper) were worn through, and so the clutch material was no longer attached to the metal disc. The clutch was also very greasy, so I don't think it would have held very well. I ordered some new clutch material from McMaster-Carr:

I cleaned up the metal disc, then traced it onto the new clutch material. Using a RemGrit blade (no teeth, just tungsten carbide bonded to a smooth blade) in my jigsaw, I cut out new discs. I used epoxy, rather than rivets, to bond the new clutch material to the metal disc (sorry, no photos).
About this time I purchased a parts washer from Cummins Tools. Along with some parts washer solvent from Tractor Supply Co., I was able to easily clean the spindle parts (worked much better than the kitchen sink).
So, the spindle after cleaning and assembly:
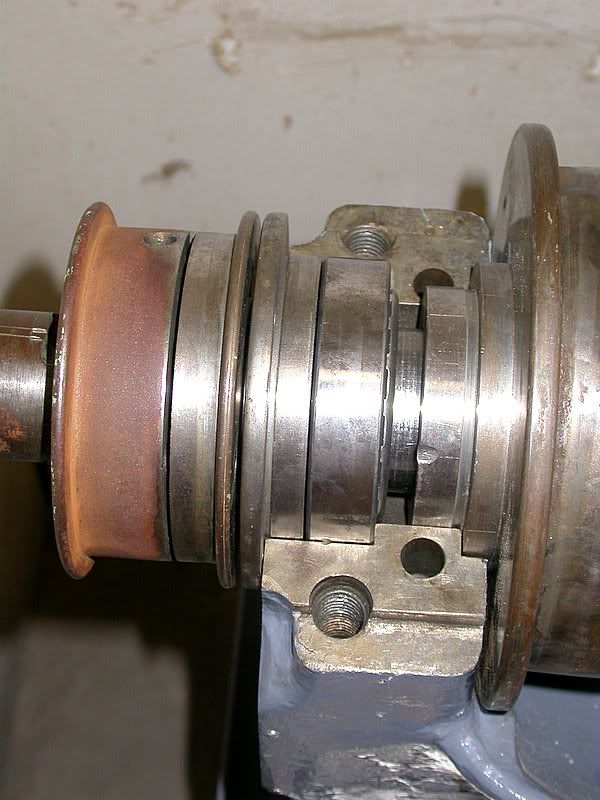
The right side, compare this to the photo at the top of this post:

The left side:
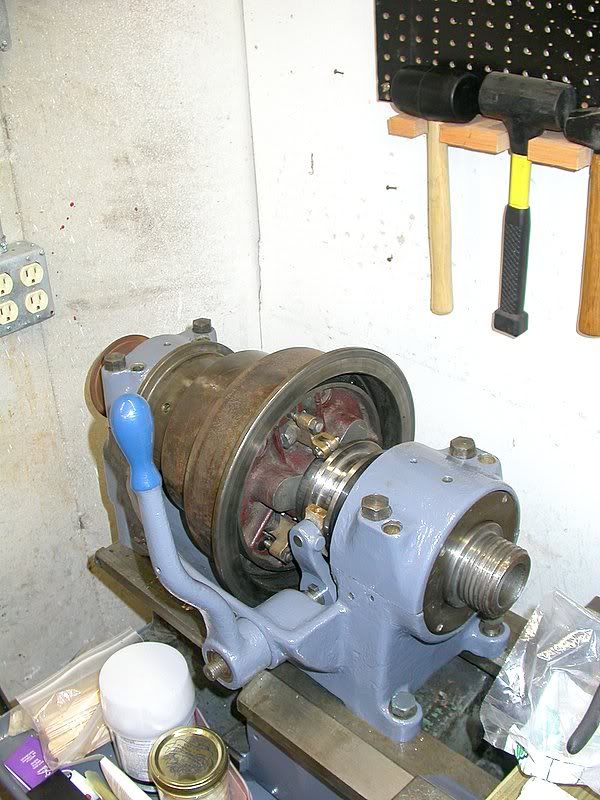
And, a photo of the headstock, almost fully assembled:
I'll take care of the rust that's left on the pulleys after I get a motor hooked up. I can then sand off the rust using sandpaper while the motor spins the pulleys.
The next step is to attach the motor/gearbox mount to the back of the lathe:
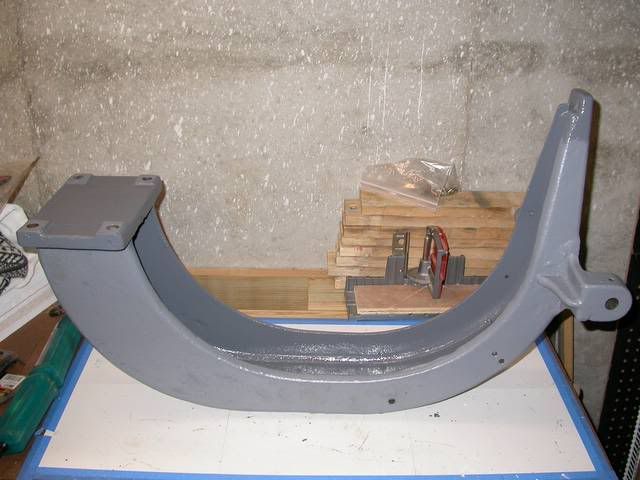
This piece is pretty heavy, hopefully I can get my shop crane back into that corner.
The spindle needed to be taken completely apart to be cleaned, and to have the clutch lining replaced. The clutch allows you to engage and disengage the spindle from the cone pulley, so you don't need to stop the motor if you want to change something, and it also makes it easier to start up the motor, because you can start it without it having to start everything spinning right away. The clutch mechanism was a bit tricky to take apart, it was designed so that you could only put it together in a certain sequence, and there was just barely enough room to gets the parts in.
Here's a photo looking down onto the spindle before I took it apart.
Here's a shot of the right side of the spindle, with the clutch mechanism on the left side of the photo (ignore the red oval).
After taking it all apart, I found that the inside of the cone pulley looked like this:
From the feedback that I've gotten from the Practical Machinist Forum, the black spots are graphite.
A not so good photo of the clutch disc:
You can see the black clutch material, the metal disc that engages the cone pulley, and then another disc of clutch material behind it. The clutch material was originally rivetted to the metal disc. The clutch had worn down to where the rivets (they were copper) were worn through, and so the clutch material was no longer attached to the metal disc. The clutch was also very greasy, so I don't think it would have held very well. I ordered some new clutch material from McMaster-Carr:
I cleaned up the metal disc, then traced it onto the new clutch material. Using a RemGrit blade (no teeth, just tungsten carbide bonded to a smooth blade) in my jigsaw, I cut out new discs. I used epoxy, rather than rivets, to bond the new clutch material to the metal disc (sorry, no photos).
About this time I purchased a parts washer from Cummins Tools. Along with some parts washer solvent from Tractor Supply Co., I was able to easily clean the spindle parts (worked much better than the kitchen sink).
So, the spindle after cleaning and assembly:
The right side, compare this to the photo at the top of this post:
The left side:
And, a photo of the headstock, almost fully assembled:
I'll take care of the rust that's left on the pulleys after I get a motor hooked up. I can then sand off the rust using sandpaper while the motor spins the pulleys.
The next step is to attach the motor/gearbox mount to the back of the lathe:
This piece is pretty heavy, hopefully I can get my shop crane back into that corner.
posted by applescotty at 8:51 AM
![]()

<< Home